
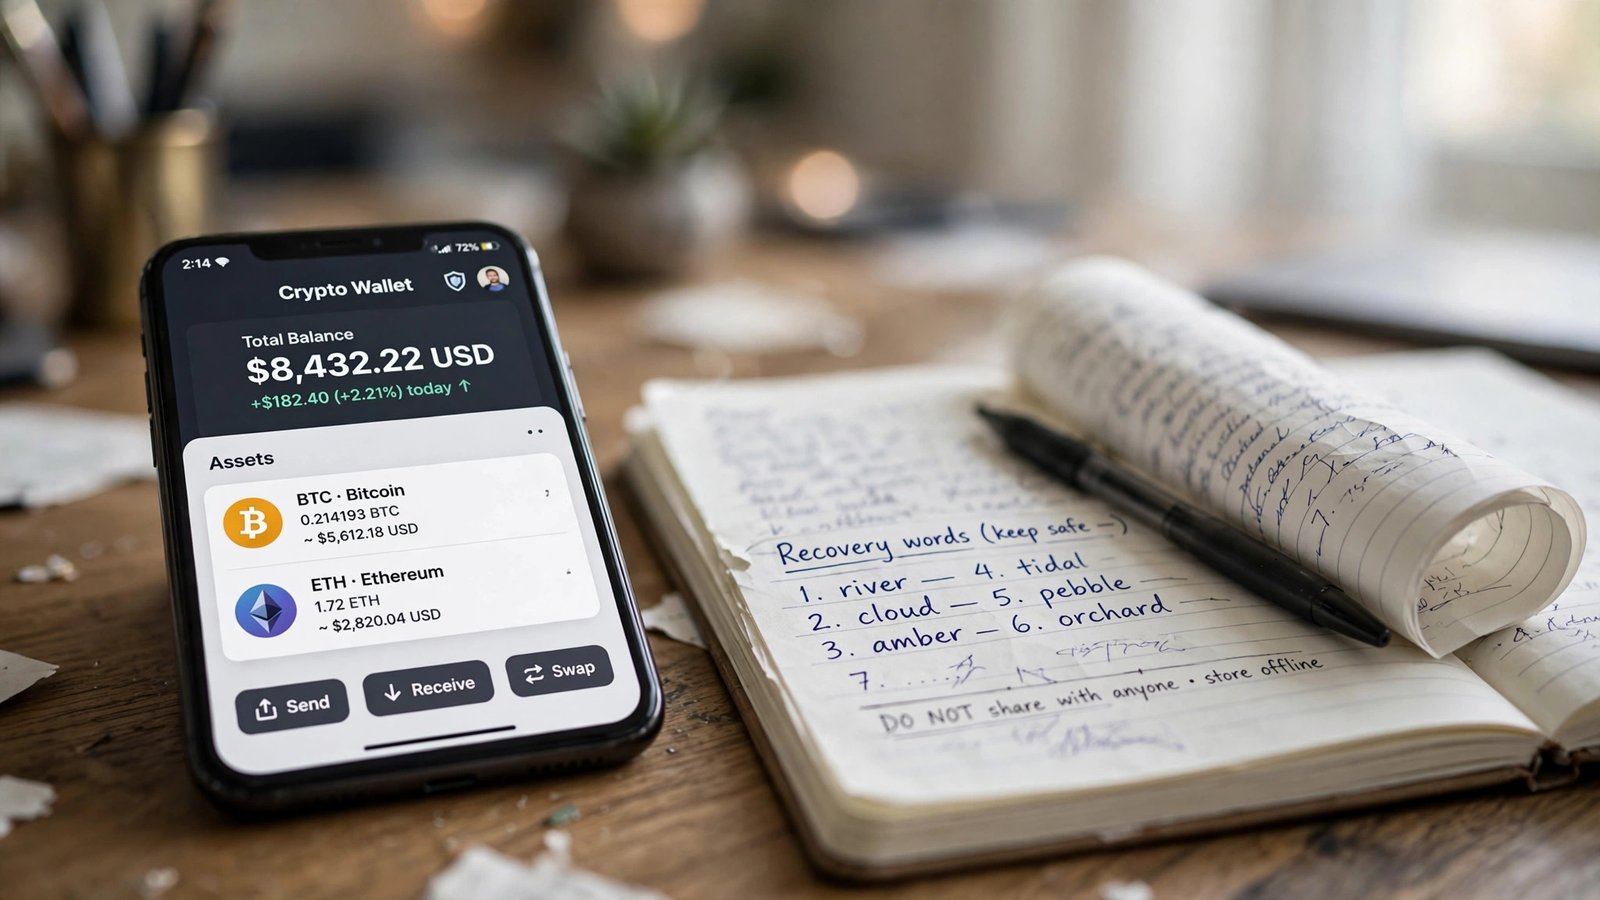
A crypto wallet sounds technical, but the setup is mostly one decision and one piece of paper. The decision is who holds the keys. The piece of paper is where those keys, written as a list of words, will live. Everything else is ordinary account hygiene of the kind used for banking or email, done carefully and in the right order. A wallet, despite its name, does not hold coins at all. It holds the private keys that prove ownership and authorise spending. The coins themselves live on the blockchain, recorded on a shared ledger that no single person controls. Self-custody means those keys are yours alone: no company can freeze them, reset them or hand them back if they are lost, which is both the freedom and the responsibility involved.
Phase one: secure the accounts around the wallet first
A wallet is only as safe as the accounts around it, and beginners often skip straight past them. The email address used for an exchange account is the master key to password resets, withdrawal confirmations and security alerts, so it deserves protection first. Use a dedicated email address for crypto accounts rather than the address used for shopping, newsletters and social media, since a quieter inbox is harder to phish and easier to watch. Give that address a strong, unique password used nowhere else, and turn on two-factor authentication with an authenticator app rather than text messages where the option exists. Learning how to keep hackers out of your email account is therefore not a side topic but the foundation of the whole setup, because an attacker inside the email can often undo every other precaution.
The exchange account, if one is used to buy the first coins, needs the same treatment. A unique password, authenticator-based two-factor protection, and a careful habit of checking that the site address is exactly right before signing in will defeat most common attacks, which rely on lookalike pages and hurried clicks. Beware of search adverts and messages promising support, since genuine providers do not contact users first through social media or chat apps. Bookmark the real addresses and use the bookmarks. Write passwords down in a password manager or keep them in a secure offline record, rather than reusing a familiar favourite across accounts. Half an hour spent here protects everything built on top of it.
The devices themselves belong in the same review. A phone without a screen lock, or a computer shared with the whole household and littered with old downloads, is a weak place to keep financial accounts of any kind. Set a proper lock on the phone, keep its system updated, and treat unexpected attachments and links with suspicion on every device used for accounts. Save the recovery codes offered when two-factor protection is switched on, and store them offline with the same care as passwords. Those codes are the way back in if a phone is lost, and losing both the phone and the codes at once can lock an owner out of accounts that were otherwise perfectly secure.
Phase two: choose the kind of wallet
Wallets divide along two simple lines. The first is hot versus cold. A hot wallet is connected to the internet, usually as a phone or browser app, which makes it quick and convenient for small amounts and regular use, and correspondingly more exposed. A cold wallet keeps keys offline, usually on a dedicated hardware device, which makes everyday use slower and theft far harder. The second line is custodial versus self-custody, which is simply the question of who holds the keys. On a custodial service, a company holds them and can restore access like a bank. With self-custody, the holder alone is responsible. Understanding how a cryptocurrency wallet actually works makes these choices clearer, because the software is really a key manager with an interface, not a container of coins.
Named examples help the categories feel concrete. Coinbase Wallet, Trust Wallet and MetaMask are well-known software wallets, each giving the user control of the recovery phrase and each suited to slightly different habits, from simple holding to connecting with decentralised services. Ledger and Trezor are the best-known hardware makers, their devices signing transactions internally so the keys never touch the connected computer or phone. None of these names is a guarantee, and popularity alone is not a safety audit. What matters is matching the kind of wallet to the amount and the purpose: a phone wallet for spending money is a reasonable design, while a large, long-term holding deserves offline keys even if reaching them takes longer.
Convenience deserves one honest warning at this stage. Browser-based and phone-based wallets ask to be used often, connected to sites and signed into quickly, and every connection is a small act of trust. Keeping only modest amounts in the most connected wallets, and approving connections slowly and deliberately, limits what any single mistake can cost. Many experienced holders keep a quiet separation: one wallet for experimenting and connecting, another, rarely touched, for holding. A beginner does not need that complexity on day one, but understanding the direction of travel helps the first choice stay sensible as habits grow and balances change.
Phase three: create it and write the words down
Download wallet software only from the official source: the maker’s own website, reached by typing the address or using a bookmark, or the official app store listing under the maker’s name. Fake wallet apps and cloned download pages are a long-standing trap, and the few minutes spent checking the source are among the most valuable in the whole process. During creation, the wallet will generate a recovery phrase of twelve or twenty-four words. Those words are the wallet. Anyone holding them can recreate the wallet anywhere in the world and spend everything in it, and no one can restore access without them.
Write the words down on paper, offline, in the exact order shown, checking each word twice before moving on. Never photograph the phrase, never type it into a website, a note app, a cloud document or a message, and never store it in email. Paper kept somewhere private and protected from fire and water is the standard beginner method, and some holders later copy the phrase onto a durable metal backup. The single most important rule in all of self-custody is simple: no legitimate service, exchange, wallet maker or support team will ever ask for the recovery phrase, for any reason, ever. A request for the phrase is a theft attempt, however convincing the page, message or caller behind it may appear. Treat the phrase the way a house deed or a safe combination would be treated, because functionally that is what it is.
Where the paper lives matters almost as much as writing it. A drawer that everyone opens, a desk photographed for social media, or a note kept beside the computer all defeat the purpose. A private, unremarkable place, protected as far as possible from water and fire, is the usual answer, and the location should be shared with nobody casually. Telling friends or posting online about owning crypto at all is best avoided, since the phrase only needs one careless audience. Some holders eventually make a sealed note of where the backup is kept for family, so that an emergency does not strand everything, but that step needs thought and trust, and it never means handing over the words themselves.
Phase four: test it with a small amount first
Before any serious amount moves, test the whole arrangement with a small amount. Send a modest sum from the exchange or another wallet to the new wallet’s receiving address, checking the address carefully character by character at the start and end, since transactions cannot be reversed once confirmed. Then wait and confirm the arrival inside the wallet itself, not merely on the sending screen. A small test costs a little in network fees and a little patience, and it proves the address, the network choice and the wallet are all working together. Sending a large amount first, to an untested address, is the most common and most avoidable beginner loss.
The second rehearsal matters even more. Once the small test amount has arrived, practise recovery while the stakes are tiny. Many careful holders wipe the wallet app or use a spare device, then restore the wallet using only the written phrase, confirming that the same balance reappears. A phrase written down wrongly, in the wrong order, or with one word misread will fail at exactly the moment it is needed most, often years later when a phone dies. Discovering a copying error during a calm rehearsal is a free lesson. Discovering it after a loss is a catastrophe. Only when the restore has been seen working should larger amounts follow.
As holdings grow, custody naturally settles into tiers. A phone wallet suits spending amounts: convenient, quick, and carrying only what could be lost without real harm. A hardware wallet suits the serious reserve, with keys kept offline and transactions signed on the device itself, which is how a hardware wallet keeps keys offline even when connected to an ordinary, possibly compromised computer. The recovery phrases for both deserve the same paper discipline, stored separately from the devices. That tiered habit, secured accounts first, a tested backup, and amounts matched to the protection around them, is the whole craft of self-custody, and it is well within reach of a careful beginner.