
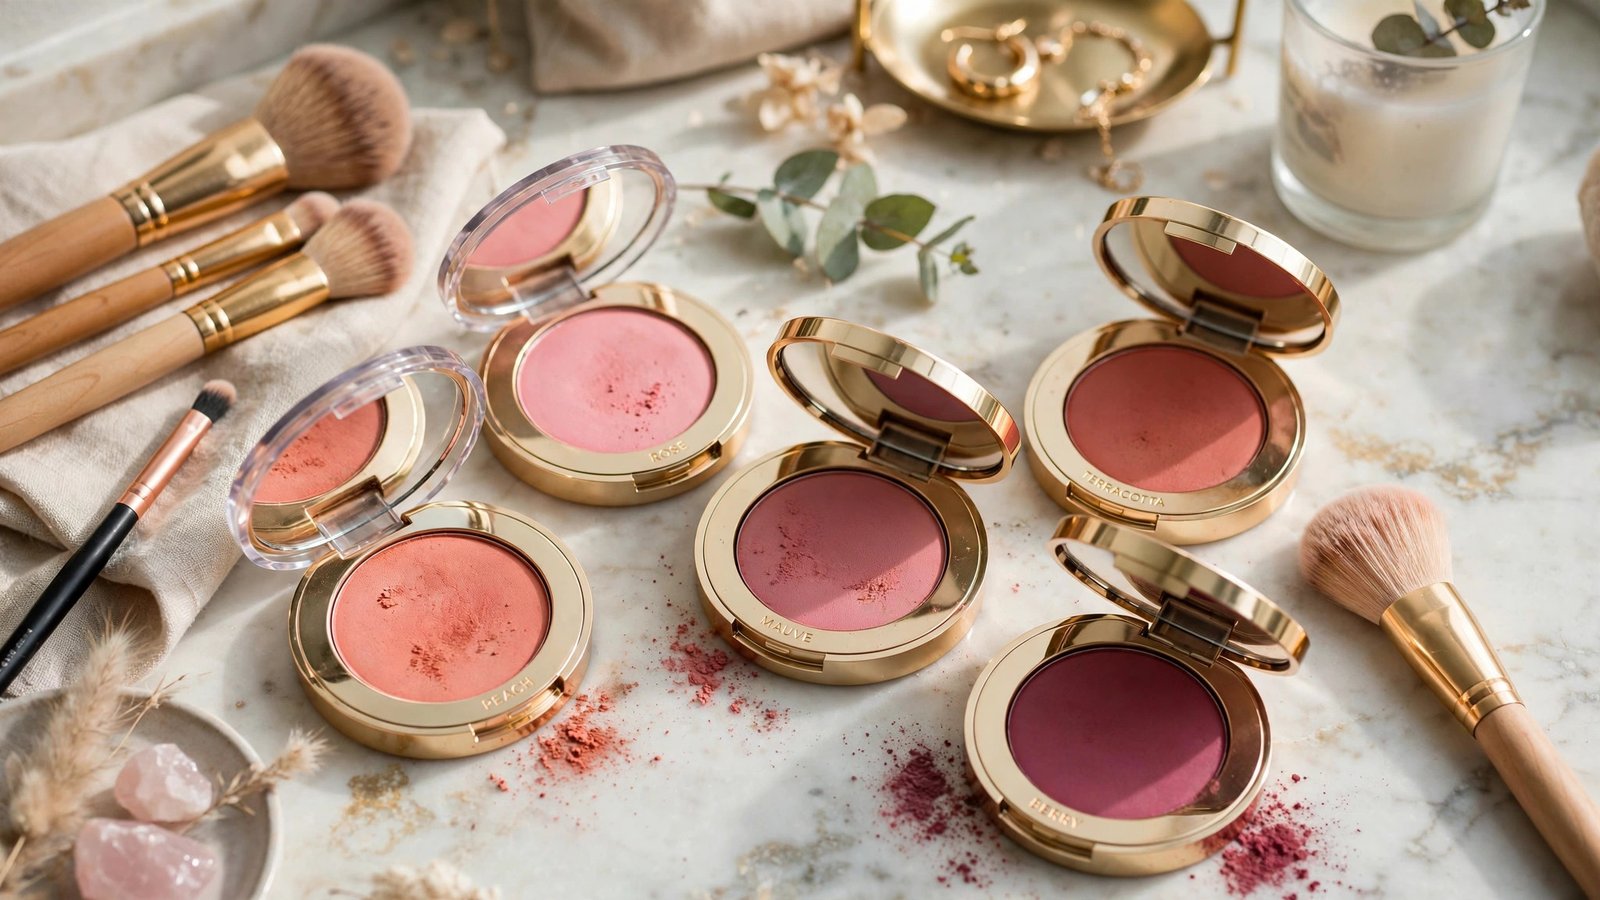
Blush is the fastest way to look alive — it mimics the flush of healthy circulation and adds dimension that flat base makeup removes. But the wrong shade can make you look sunburned, muddy, or like you’re wearing someone else’s face. Walk into any beauty aisle and the wall of pink-to-plum options is paralyzing.
Choosing blush for your skin tone isn’t about strict rules — it’s about undertones and intensity. Here’s the framework makeup artists actually use, plus how to apply it so it looks like a glow, not a stripe.
Step 1: Find Your Undertone (This Matters More Than “Light vs. Deep”)
Your undertone is the subtle hue beneath your skin’s surface, and it determines which blush shades harmonize:
- Cool undertones: veins look blue/purple, silver jewelry flatters, skin may burn easily. Best blushes: blue-based pinks, cool roses, berry tones.
- Warm undertones: veins look green, gold jewelry flatters, skin tans readily. Best blushes: peach, coral, warm apricot, golden bronze-pinks.
- Neutral undertones: mix of both; most shades work. Best blushes: true roses, soft mauves, neutral peaches.
The white-paper test: hold white paper next to your bare face in natural light. Skin that looks pinkish/rosy beside it leans cool; yellowish/golden leans warm. When in doubt, neutral-leaning shades (soft rose, muted peach) are the safest universal picks.
Step 2: Match Intensity to Skin Depth
The most common blush mistake isn’t the wrong hue — it’s the wrong intensity:
- Fair/light skin: sheer, light shades — soft pink, light peach, baby rose. Pigmented blushes overwhelm quickly; build slowly.
- Medium/olive skin: mid-intensity shades — warm rose, coral, apricot, mauve. You can handle more pigment.
- Tan/deep skin: rich, saturated shades — berry, brick, terracotta, vivid coral, fuchsia. Sheer light pinks disappear entirely; don’t be afraid of pigment.
- Very deep skin: highly pigmented brights — vibrant orange-red, magenta, deep plum. These read as a natural glow rather than “a lot of makeup.”
Rule of thumb: the blush should be visible in the pan but sheered out on the skin. If you can’t see it in the compact, it won’t show on your face.
Step 3: Choose Your Formula
- Powder: best for oily skin, longest wear, most shade options. Apply with a fluffy brush; tap off excess.
- Cream: best for dry/normal skin, most natural skin-like finish, doubles as lip color. Apply with fingers or a dense brush; sets best over liquid base.
- Liquid/stain: sheerest, most long-wearing, trickiest to blend (work fast, one cheek at a time).
- Gel: dewy finish, great for a fresh look, less ideal for oily skin.
Beginners: start with cream. It’s the most forgiving — blendable, buildable, and mistakes disappear with a fingertip. The FDA’s cosmetics safety information is a useful reference for understanding product labeling and what’s actually regulated.
Step 4: Placement Changes Everything
Where you put blush shapes your face:
- Apples of cheeks, blended up: the classic youthful flush. Smile, apply to the roundest part, blend toward temples. Best for: most face shapes, everyday wear.
- Higher on cheekbones: apply along the top of the cheekbone toward the temple. Lifts and sculpts — great for round faces or a more defined look.
- Across nose bridge + cheeks (“sunburn blush”): a light dusting across the nose creates a sunkissed effect. Keep it sheer.
- Draping (blush as contour): sweeping blush from cheekbone to temple in a C-shape. Bold and editorial — sheer it out well.
Blend upward and outward, never downward toward the nasolabial area (it drags the face down). And blend the edges until you can’t tell where the blush starts — visible edges are what make blush look “done” rather than natural.
Common Blush Mistakes (and Fixes)
- Too much, too fast: build in sheer layers. You can add; removing requires redoing base makeup.
- Wrong undertone: cool-toned blush on warm skin (or vice versa) looks “off” in a hard-to-place way. When a shade looks wrong but you can’t say why, undertone mismatch is usually the culprit.
- Applying over unset powder: cream blush over powder base gets patchy. Order: cream products before powder, powder blush after base is set.
- Ignoring lighting: always check in natural light before leaving. Bathroom fluorescents lie — what looks subtle indoors can be vivid in daylight.
- Skipping blush entirely: foundation without blush (or bronzer) flattens the face. Even a whisper of color restores dimension.
The American Academy of Dermatology’s cosmetic guidance notes that non-comedogenic formulas matter for acne-prone skin — blush sits on cheeks where breakouts commonly occur, so check labels if you’re sensitive.
Blush is also a cornerstone of speed routines — a minimal-effort polished look leans heavily on one good blush doing triple duty on cheeks, lips, and overall glow. And healthy color starts underneath: understanding what flatters warm skin tones helps with blush, clothing, and jewelry choices together.
Blush for Different Occasions and Lighting
The same blush behaves differently across contexts — adjust intensity, not shade:
- Office/daylight: sheer, natural-finish blush. Daylight is unforgiving; apply in natural light and err on the side of subtle. Matte or satin finishes look most professional.
- Evening/events: bump intensity up one notch and add a touch of luminosity — candlelight and event lighting eat color, so what looks perfect at noon disappears by 8 p.m. A subtle highlight on the cheekbone tops complements the deeper blush.
- Photography: cameras flatten faces — slightly more blush than feels natural photographs as “healthy glow.” Matte formulas photograph most reliably; heavy shimmer can read as shine.
- Video calls: webcams wash out color similarly to photography. A touch more blush than your in-person amount keeps you from looking flat on screen — cream formulas read most naturally on camera.
- Hot weather: switch to stain or long-wear liquid formulas; powder and cream melt. Blot before reapplying rather than layering over sweat and oil.
The underlying principle: lighting determines visibility, so calibrate intensity to the brightest light you’ll be in. When in doubt, apply for daylight — you can always add more for evening, but removing excess midday requires starting over.
Frequently Asked Questions
How do I fix blush that’s too heavy?
Don’t add more base over it — press a clean damp sponge over the area to lift excess, or dust translucent powder over it to mute the intensity. For cream blush, blending outward with a clean finger usually fixes it. Prevention (sheer layers) beats correction every time.
What blush color looks natural on everyone?
There’s no universal shade, but muted roses and soft peaches come closest — they mimic a natural flush across many skin tones. When testing, the right shade should look like your cheeks after a brisk walk, not like makeup.
Cream or powder blush for beginners?
Cream — it’s more forgiving, blends with fingers, and mistakes are easily fixed. Powder requires brush technique and builds faster than beginners expect.
Where exactly do I apply blush?
Start on the apples of your cheeks (smile to find them) and blend up toward your temples. Keep it above the bottom of your nose — blush placed too low drags the face downward.
Can I wear blush without foundation?
Absolutely — cream blush on bare moisturized skin looks incredibly fresh and natural. It’s actually the easiest way to wear blush, since there’s no base to clash with.
The Bottom Line
Choosing blush is undertone first, intensity second, formula third: cool undertones take blue-pinks and berries, warm undertones take peach and coral, and depth determines how much pigment you need. Apply sheer, blend upward, check in daylight — and enjoy the five-second transformation that makes everything else look more polished.