
Most clothes are thrown away over damage that takes minutes to repair: a lost button, a split seam, a small tear. None of those faults means a garment has reached the end of its life. They mean a small job was left undone until replacing the whole item felt easier. Reviving the habit of mending is worth the modest effort involved. Textile waste is a serious burden, with figures from the EPA running to millions of tons a year, and much of that weight is clothing that could have been worn far longer. Modern garments are often engineered to be replaced rather than repaired, with thin fabrics, sparse seam allowances and finishes designed for the shop rail rather than the wash. Asking whether fast fashion is really that bad for the environment leads quickly to the same conclusion: the cheapest wardrobe, for purse and planet alike, is largely the one already hanging in it.
A small repair kit covers nearly every job that follows, and it fits in a tin or a drawer. Gather a set of needles in varied sizes, thread in neutral colours that blend with most fabrics, a card or jar of spare buttons saved from old garments and the spares that arrive sewn inside new ones, and a seam ripper for undoing mistakes and removing broken stitches cleanly. Add small sharp scissors, a handful of pins, a few iron-on patches for quick reinforcement, and a thimble to protect a finger when pushing a needle through denim or canvas. Thread in black, white, grey and navy handles most clothing, and a neutral beige covers much of the rest. Kept together and kept handy, the kit removes the main excuse for delay, which is hunting for tools.
Fix One: sewing a button back on is the repair almost everyone meets first, and it teaches the basic rhythm of needlework. Thread a needle, knot the end, and push up through the fabric from underneath where the button sat, using any faint marks or remaining threads as a guide. Pass the thread through the button holes in a steady pattern, several times, keeping the button slightly loose rather than clamped flat. On a coat or blazer, wind thread around the bundle beneath the button to form a small shank, so the button sits comfortably over the thickness of the overlapping fabric. Finish with a few small stitches on the underside, snip the thread, and test the fastening.
Fix Two: closing a split seam with a backstitch restores the strongest join in hand sewing. Turn the garment inside out, pin the two edges together so the original seam line meets neatly, and work along that line rather than inventing a new one. The backstitch earns its reputation among the core hand-sewing stitches because each new stitch doubles back over the last, locking the thread so a single break cannot unzip the whole repair. Keep stitches small and even, knot securely at both ends, and press the seam flat afterwards. A repaired seam done this way flexes with the garment and usually outlasts the stitching around it.
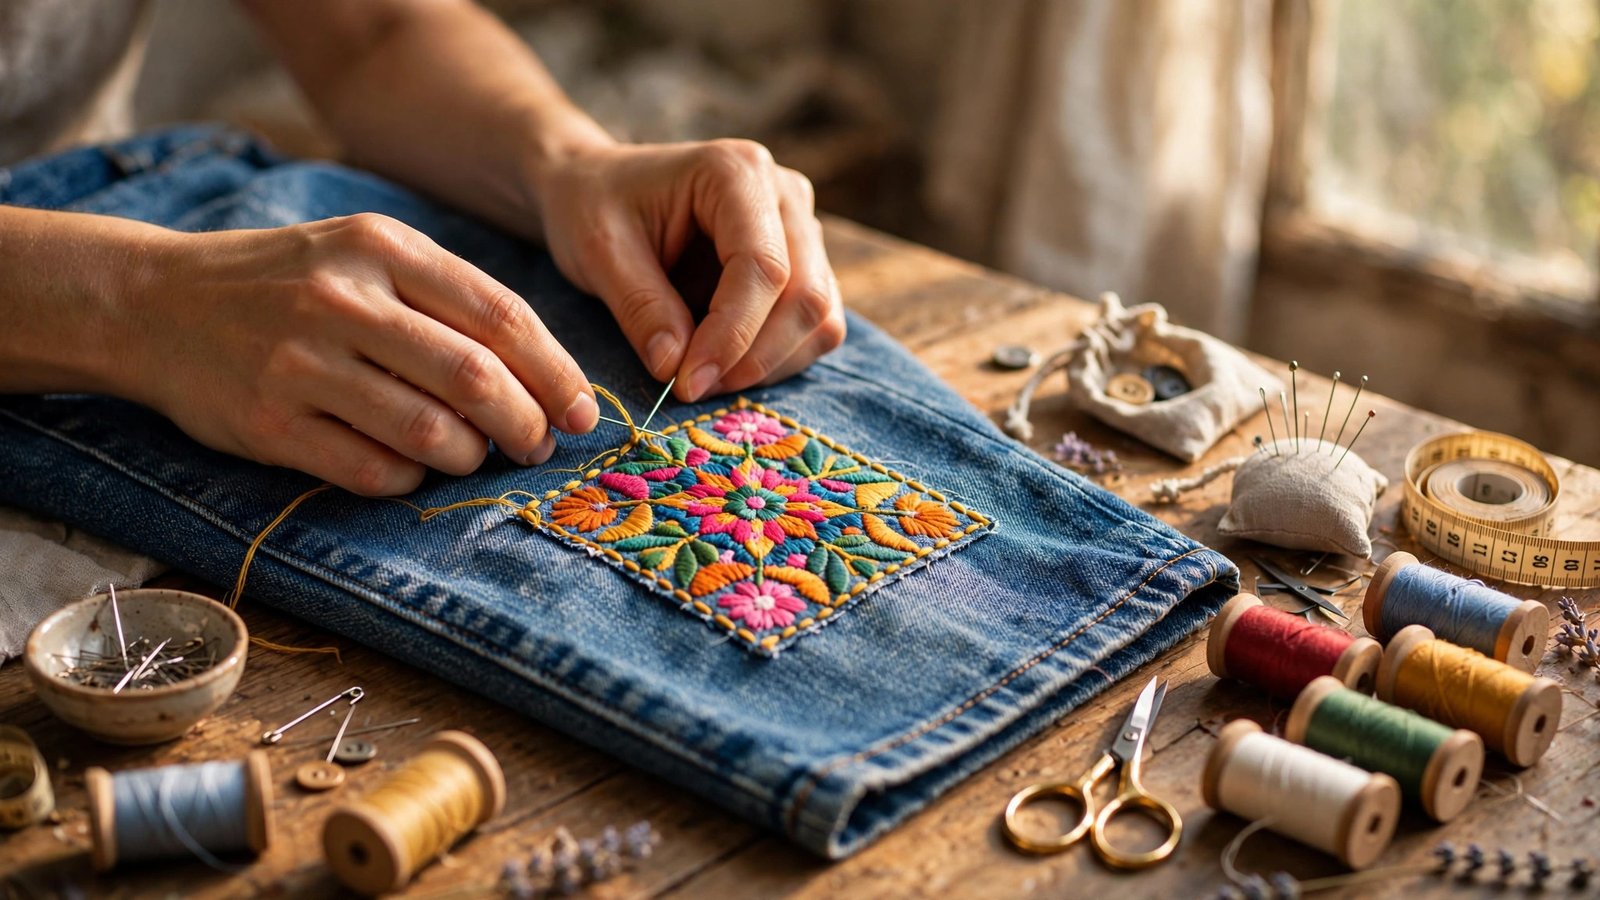
Fix Three: patching a hole turns a weak point into a reinforced one, and it suits knees, elbows, pockets and the inner thigh of trousers. Choose a patch fabric close in weight and colour to the garment, or deliberately contrasting if a visible repair is welcome. Cut the patch larger than the hole, neaten the hole’s frayed edges, and pin the patch behind or over the damage. Stitch around the edge with small, even stitches, then, for a worn area rather than a clean hole, add rows of stitching across the patch to hold everything flat. Pressing the finished patch helps it settle into the garment instead of sitting on it.
Fix Four: darning a worn sock or sweater area rebuilds fabric where it has thinned to almost nothing. Stretch the area gently over a darning mushroom, a jar lid or simply a cupped hand so the weave lies flat and visible. First lay parallel threads across the hole in one direction, anchoring them in sound fabric beyond the worn edge. Then weave a second set of threads over and under the first, row by row, until a new woven patch fills the gap. That patient weaving is exactly how darning rebuilds a worn area thread by thread, and it needs no knot, since the woven ends hold themselves. Use yarn matched in thickness and colour, and the repair on a heel or cuff becomes nearly invisible in wear.
Fix Five: hemming trousers or a skirt is mostly measuring and pressing, with very little sewing. Try the garment on with the shoes it is worn with, fold the hem to the length that looks right, and pin it evenly all round. Press the fold firmly so the new line is crisp, trim any large excess while leaving enough fabric to turn under, and fold the raw edge inwards to hide it. Work round the hem with a small slip stitch, catching a thread or two of the outer fabric and then a longer stretch of the folded hem, so the stitches stay discreet from outside. A final press makes home hemming look shop-finished.
Fix Six: fixing a stuck or split zipper often needs patience rather than parts. For a stuck zip, first check for trapped fabric or thread and ease it free gently, never by force, since a hard yank bends teeth and breaks sliders. Rubbing a little soap, or the tip of a pencil, along the teeth can lubricate them enough for the slider to move again. For a split zip, where the teeth close behind the slider and then gape open, slide the pull down to the very bottom, realign the two sides carefully at the starting point, and draw the slider up slowly and evenly. If the slider itself has loosened, a gentle squeeze with pliers on its back plate sometimes restores its grip.
Fix Seven: taking in a loose waistband gives trousers and skirts a second, better-fitting life. The simplest route is elastic: open a small gap inside the waistband, thread a length of elastic through the channel at the back, adjust it until the waist sits comfortably, stitch the elastic ends firmly, and close the gap. Where a neater, tailored result is wanted, a dart does the work. Pinch the excess fabric evenly at the back or sides, mark a tapered fold that is widest at the waist and fades to nothing lower down, and stitch along the marked line. Press the dart flat to one side. Either way, try the garment on before finishing, and adjust while adjustment is still easy.
Fix Eight: removing stains works best when the treatment matches the stain family, and when cold water rules are respected. Protein stains such as blood, egg and dairy respond to soaking in cold water, because heat cooks protein into fabric and sets it permanently. Grease stains from butter, oil and dressings need the opposite logic: a little washing-up liquid or a grease-cutting treatment worked in before washing, since plain water alone slides off fat. Tannin stains such as tea, coffee and wine should be blotted, never rubbed, and flushed with cold water from the back of the fabric so the stain is pushed out the way it came in. Whatever the family, treat the stain promptly, test any treatment on a hidden seam first, and avoid tumble drying until the mark has gone.
Fix Nine: de-pilling and refreshing knitwear restores jumpers that look tired long before they are worn out. Those small bobbles are loose fibres tangled on the surface, and removing them changes the whole appearance of a garment. Lay the knit flat and work gently with a fabric shaver, a safety razor used with a light hand, or a fine comb, keeping the surface taut and never pressing hard over seams or thin patches. Afterwards, a wash in a gentle cycle turned inside out, followed by drying flat, helps the fibres settle. Storing knitwear folded rather than hung prevents stretched shoulders. A refreshed jumper that fits well and looks cared for rarely needs replacing.
Fix Ten: letting out or taking in a side seam adjusts fit where the garment allows it, and the allowance is the deciding factor. Turn the item inside out and inspect the seam. Many better-made garments carry extra fabric folded inside the seam, and that spare width can be released by unpicking the stitching and re-sewing a narrower seam, pressing the new line open. Taking in is simpler: pin the new line while wearing the garment, taking equal amounts from both sides where possible so the shape stays balanced, then stitch, try on again, and only trim the excess once the fit is certain. Work in small changes. Fit improves by degrees, and fabric once cut away cannot be returned.
Knowing when to let go matters as much as knowing how to repair. Some damage defeats honest mending: elbows worn right through on a jacket whose fabric has thinned everywhere, a coat lining shredded beyond its seams, or cloth so degraded that every new stitch tears a fresh hole beside the last one. Persisting with such pieces wastes time and produces repairs that fail in wear. Those garments are not bin material, though. Textile recycling takes worn-out clothing and turns it into insulation, padding and industrial cloths, so a garment that can no longer be worn can still avoid landfill. Buttons, sound zips and good fabric panels are worth harvesting first for the repair kit.
The habit that holds all of this together is a mending basket and a routine. Keep a basket or box where clothes needing attention are gathered instead of drifting back into drawers, faults and all. Laundry time is the natural moment for the work, because washing reveals the loose button, the starting split and the fresh stain while each is still small. Ten quiet minutes with the basket while clothes dry or a programme plays turns mending from an occasional project into an ordinary household skill, like sharpening a knife or descaling a kettle. Over a year, that small routine keeps favourite clothes in service, keeps money in the bank, and keeps a surprising weight of wearable clothing out of the waste stream.