
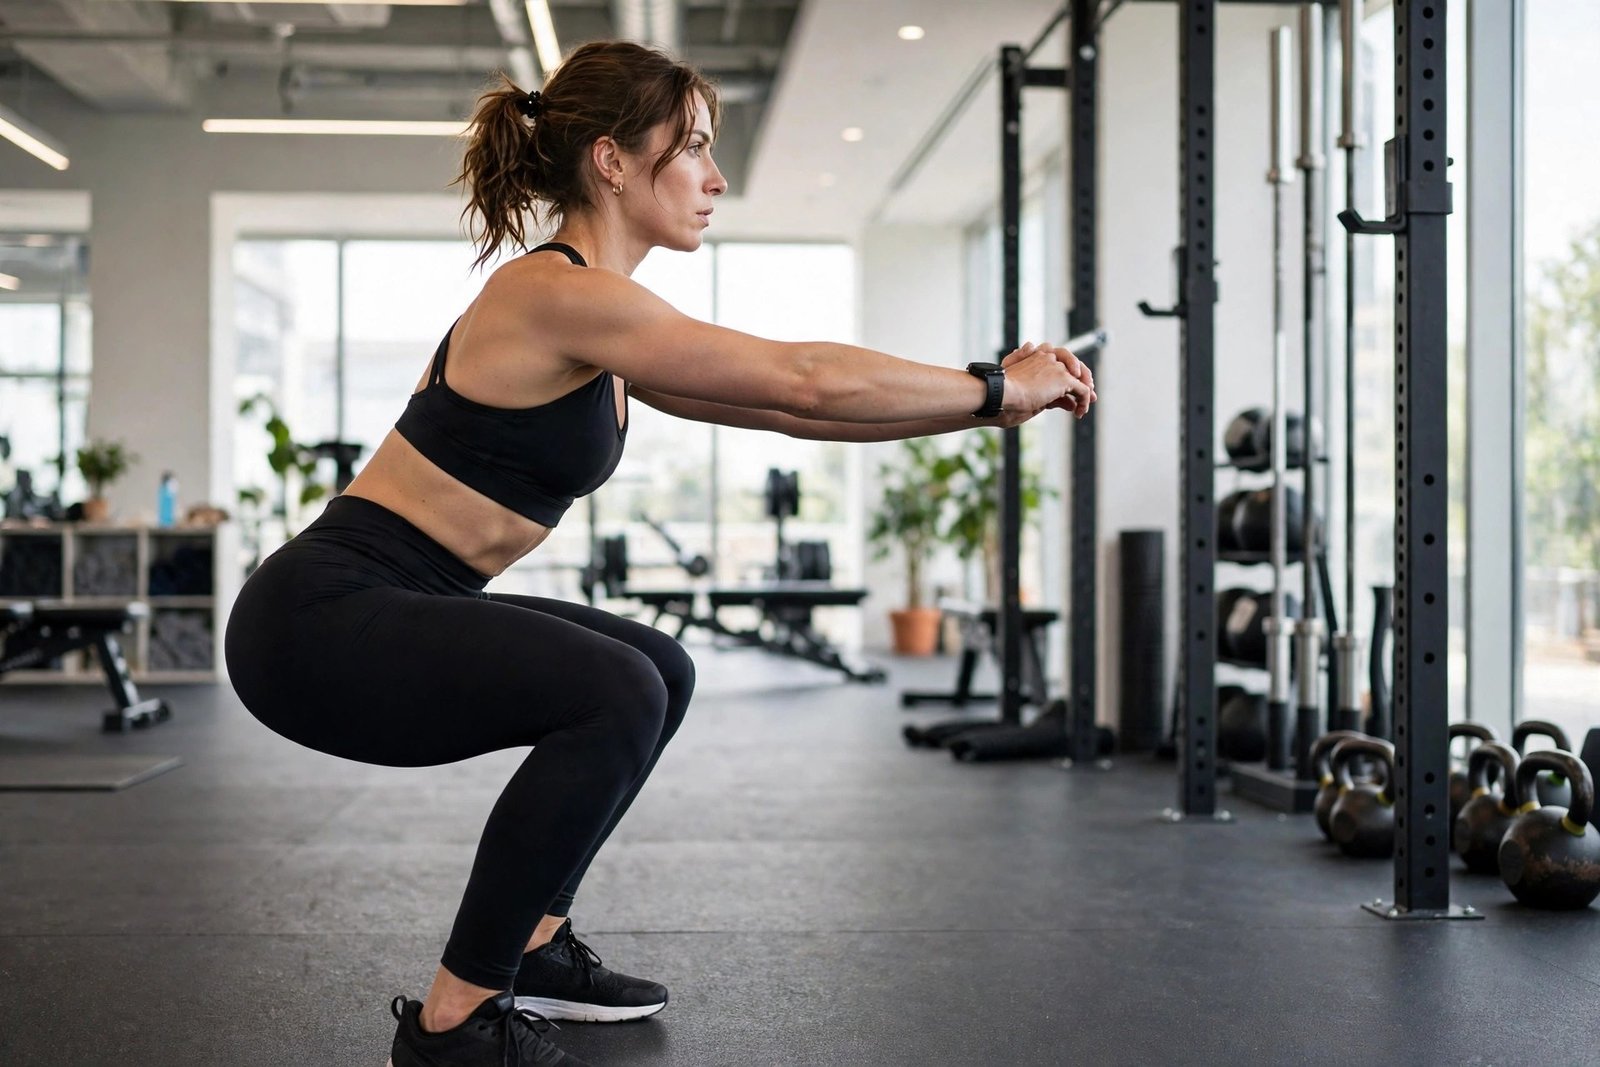
The squat is the king of exercises — and the most butchered. Walk into any gym and you’ll see knees caving, heels lifting, backs rounding, and quarter-depth bounces that build nothing but bad habits. The frustrating part: proper squat form isn’t complicated. It’s a short checklist of positions your body already knows, obscured by overthinking. Learn it right once, and every rep for the rest of your training life pays full dividends.
This is the fastest path to a proper squat: the setup, the descent, the ascent, the common faults with instant fixes, and a two-week progression that grooves the pattern.
Why Form Matters More Than Weight
A sloppy squat with heavy weight is the fastest route to knee pain, back injury, and stalled progress. Good form distributes load across your glutes, quads, and core — the big engines — while protecting the spine and knees. The research is unambiguous: full-depth squats with proper mechanics build more muscle and strength than partial reps, and they’re safer for knees than the half-squats people do to “protect” them. Learn the movement with bodyweight first; the barbell can wait until the pattern is automatic.
The Setup: Position Before Motion
- Stance: feet about shoulder-width apart, toes pointed slightly outward (15–30 degrees). This isn’t one-size-fits-all — hip anatomy varies, so experiment within that range for what lets you hit depth comfortably.
- Weight distribution: weight across the whole foot — “tripod foot” with pressure on heel, big toe, and little toe. If your heels lift, your stance or ankle mobility needs work (see fixes below).
- Upper body: chest up, eyes forward or slightly down, arms wherever they balance you (crossed at chest or extended forward for bodyweight).
- Core: brace like you’re about to be punched in the stomach — deep belly breath, abs tight. This brace protects your spine through every rep.
- Knees: think “knees track over toes” — they should point the same direction as your feet, not cave inward.
The Descent: Controlled, Not Collapsed
Initiate by pushing your hips back slightly and bending your knees simultaneously — the old “hips first” cue creates excessive forward lean for most people. Lower under control (2–3 seconds down), keeping your chest proud and your weight mid-foot. Descend until your hip crease passes below your knee — that’s full depth, the range where glutes fully engage. Your torso will lean forward somewhat; that’s normal and necessary. What matters: the bar path (or your center of mass) stays over mid-foot, and your lower back maintains its natural arch — no rounding (“butt wink”) at the bottom.
Breathe: inhale on the way down, filling your belly to reinforce the brace. If depth is limited, don’t force it — squat to a box or bench at your current comfortable depth and lower the target over weeks as mobility improves. Depth is earned, not demanded.
The Ascent: Drive, Don’t Bounce
Drive up by pushing the floor away — think “legs through the floor” rather than “lift the weight.” Keep your chest up and knees tracking out; the hips and chest should rise together (if your hips shoot up first, the weight is too heavy or your quads are doing all the work). Exhale forcefully through the ascent — the exhale naturally reinforces core bracing at the sticking point. Stand fully tall at the top, squeeze glutes briefly, reset your breath, and go again. No bouncing out of the bottom: the stretch reflex is fine, but a violent bounce with a rounded back is how injuries happen.
The Five Faults (and Instant Fixes)
1. Knees caving inward (valgus collapse)
Cause: weak glutes, stance too narrow, or weight too heavy. Fix: consciously “spread the floor apart” with your feet; loop a mini-band around your knees during warm-ups to train the outward push; widen stance slightly.
2. Heels lifting off the floor
Cause: limited ankle mobility or stance too narrow. Fix: elevate heels temporarily on small plates while working on ankle mobility (wall knee-to-wall stretches daily); try a slightly wider stance with more toe-out.
3. Lower back rounding at the bottom
Cause: going deeper than current mobility allows. Fix: squat only to the depth you can maintain a neutral spine; add hip flexor and hamstring mobility work; the depth will come.
4. Excessive forward lean / chest collapsing
Cause: weak upper back or starting with hips too far back. Fix: cue “chest up, elbows down”; front squats or goblet squats teach upright posture automatically.
5. Quarter reps (stopping high)
Cause: ego, habit, or fear of the bottom position. Fix: squat to a box set at proper depth until the full range feels normal; film yourself — most “deep” squats aren’t.
The Two-Week Form Groove Plan
- Days 1–3: 3 sets of 10 bodyweight squats to a chair/bench, slow tempo, filming one set to check positions.
- Days 4–7: remove the chair; 4 sets of 12 full bodyweight squats; add 2 sets of 10 goblet squats with a light dumbbell or household object held at chest.
- Days 8–10: goblet squats as the main move, 4×10, increasing weight when all reps are clean; practice pausing 2 seconds at the bottom.
- Days 11–14: if form is consistent on video, you’re ready to learn the barbell back squat with an empty bar — the pattern transfers directly.
Film yourself weekly from the side. The camera is the most honest coach you’ll ever have, and comparing week-one to week-four footage is enormously motivating. Structured programming helps too — AI-generated workout plans can organize your progression, though nothing replaces your own video review. The National Strength and Conditioning Association publishes the definitive squat technique guidelines.
Mobility Work That Unlocks Depth
If anatomy or desk-life limits your squat, ten minutes daily of targeted mobility pays off fast: deep goblet squat holds (sit in the bottom position holding something, 30–60 seconds, 3 rounds), ankle wall stretches (knee over toes, 10 per side), hip flexor lunges, and thoracic extensions over a foam roller. Most people see meaningful depth improvement within 2–3 weeks. ACE Fitness’s exercise library has video demos of every mobility drill mentioned here. And don’t neglect recovery nutrition — adequate protein intake supports the muscle repair that turns practice into strength.
Conclusion
Learning proper squat form fast means: nailing the setup (stance, tripod foot, brace), descending controlled to full depth without rounding, driving up with chest and hips together, and fixing the five classic faults with targeted cues. Two weeks of deliberate bodyweight-to-goblet practice, filmed and reviewed, builds a pattern that lasts a lifetime of training. The squat rewards patience up front with decades of safe, productive reps — learn it right once, and never relearn it again.
Frequently Asked Questions
How long does it take to learn proper squat form?
Most people groove reliable bodyweight form in 1–2 weeks of deliberate practice (3–4 sessions per week with video review). Barbell proficiency takes another few weeks. Rushing to heavy weight before the pattern is automatic is the main mistake.
Should my knees go past my toes when squatting?
For most people, yes, slightly — it’s normal and safe when the knees track in line with the toes. The “never let knees pass toes” rule is outdated; forcing it usually causes excessive forward lean or heel lifting.
Why can’t I squat deep?
Usually ankle or hip mobility, stance width, or a combination. Try a wider stance with toes out, elevate heels temporarily, and do daily ankle and hip mobility work. Depth improves over weeks, not days.
Is squatting bad for your knees?
No — properly performed full squats strengthen the muscles supporting the knee and are not harmful. Most knee pain from squatting comes from form faults (knees caving, excessive loading too soon), which are fixable.