
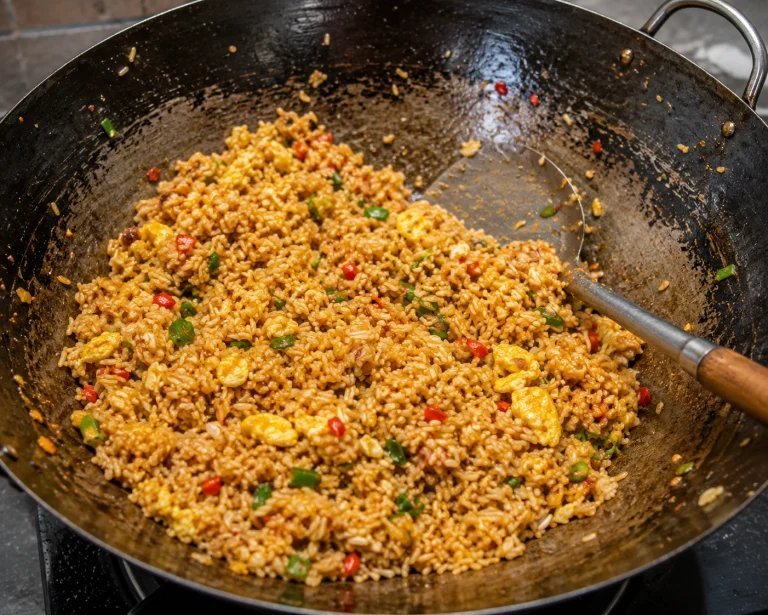
Homemade fried rice usually disappoints: soggy, bland, clumpy — nothing like the smoky, separate-grained restaurant version. The gap isn’t skill or equipment. It’s three specific techniques that restaurants use and home cooks skip.
Here’s what’s actually different, and how to close the gap with a regular stove and a skillet.
How Can I Make Restaurant-Style Fried Rice at Home? Day-Old Rice Is Non-Negotiable
Fresh rice is too moist — the grains clump and steam instead of frying. Day-old refrigerated rice dries out on the surface, letting individual grains fry separately and develop that characteristic slightly chewy texture. Cook the rice the day before (slightly less water than usual), spread it on a tray to cool quickly, refrigerate uncovered or loosely covered overnight. This single step fixes 70 percent of bad homemade fried rice.
No day-old rice? The cheat: cook rice with 10-15 percent less water, spread hot on a sheet pan, and freeze 30-45 minutes (or refrigerate 2+ hours). It won’t equal true day-old, but it gets you 80 percent there. In genuine desperation, use the ‘fry the fresh rice longer’ method — spread it thin in a screaming-hot pan and let it sit undisturbed to drive off moisture before stirring.
Rice variety matters: long-grain jasmine is the restaurant standard — separate grains, floral aroma, perfect texture. Medium-grain works; short-grain (sushi rice) is too sticky. Basmati is acceptable but less traditional. Whatever you use, the grains should be distinct, not mushy — slightly undercooking helps.
Heat: The Wok Hei Problem (and Workarounds)
Restaurant fried rice gets its smoky depth from wok hei — the ‘breath of the wok’ — created by 100,000+ BTU burners vaporizing oil and sauce at extreme heat. Home stoves make 7,000-12,000 BTU. You can’t fully replicate it, but you can get close: use the largest burner on maximum heat, a carbon-steel wok or large cast-iron skillet (maximum heat retention), and cook in small batches — overcrowding is the home cook’s cardinal sin.
Batch discipline: 2 cups of rice maximum per batch in a 12-inch pan. More than that and the temperature crashes, the rice steams, and you get mush. Two quick batches beat one big sad batch every time. Let the rice sit undisturbed 30-60 seconds between stirs to develop browning — constant stirring prevents the sear that creates flavor.
The butter trick: many restaurants finish with a knob of butter for richness and gloss. Also, a few drops of toasted sesame oil at the very end (never during high-heat cooking — it burns) adds the nutty aroma you recognize instantly. And MSG — restaurants use it freely; a pinch of MSG or mushroom powder delivers that savory depth that’s hard to get otherwise. No shame in it.
The Sauce Ratio and Ingredient Order
Less sauce than you think: 1 tablespoon soy sauce per 2 cups of cooked rice, plus 1 teaspoon oyster sauce (the secret ingredient — sweet, savory, complex). Too much soy makes it salty and soggy; the rice should be lightly golden, not brown. White pepper (not black — different flavor, the restaurant taste) and a pinch of sugar round it out. Mix sauces in a small bowl first for even distribution.
Ingredient order matters: scramble the eggs first, remove; sear the protein, remove; stir-fry aromatics (garlic, ginger, white parts of scallions) 30 seconds; add rice, press and sear; return protein and egg; sauce around the edges of the pan (it sizzles and caramelizes on the hot metal before hitting rice — the pro move); toss; finish with sesame oil and scallion greens. Total active cooking: under 10 minutes.
Protein and mix-ins: diced char siu, shrimp, chicken, or just egg — keep pieces small for even distribution. Frozen peas and diced carrots (thawed) are classic; corn, edamame, and diced bell pepper all work. The rice is the star; mix-ins are supporting actors at 1/4 the rice volume max. Overloaded fried rice is just stir-fry with rice in it.
- Day-old refrigerated rice — the #1 difference-maker
- Max heat, small batches (2 cups rice max per batch)
- Let rice sit undisturbed 30-60 sec between stirs for browning
- 1 tbsp soy + 1 tsp oyster sauce per 2 cups rice; white pepper
- Sauce around pan edges so it sizzles before hitting rice
- Finish: butter knob + sesame oil drops + scallion greens
Common Failures, Diagnosed
Soggy/mushy: fresh rice, overcrowded pan, or too much sauce. Fix with day-old rice, smaller batches, less liquid. If it’s already soggy, spread on a sheet pan and bake at 400°F for 10 minutes to dry out — rescue is possible.
Bland: under-seasoned, no oyster sauce/MSG, or sauce added without sizzling. Taste and adjust at the end — fried rice needs more salt than you think (the rice dilutes everything). A final drizzle of soy around the edges plus white pepper usually fixes it.
Burnt bits but raw middle: heat too high for the batch size, or stirring too little during the sear phases. It’s a rhythm: sear undisturbed, toss, sear, toss. You’ll develop the feel within 2-3 batches. And honestly? Even imperfect homemade fried rice beats takeout on freshness — keep practicing; batch three is always better than batch one. For more weeknight rice meals, our easy family dinners put fried rice in full rotation.
Beyond Basic: Next-Level Fried Rice Variations
Once the basic technique is solid, the variations are endless. Kimchi fried rice: chopped kimchi + gochujang + the standard method, topped with a fried egg — the funky, spicy, deeply savory version that converts skeptics. Pineapple fried rice: diced pineapple + shrimp + cashews + curry powder, served in a hollowed pineapple for presentation — sweet-savory tropical brilliance. Basil fried rice (Thai-style): Thai basil + chilies + fish sauce + oyster sauce — aromatic and fiery.
The protein upgrades: Chinese sausage (lap cheong) diced small renders flavorful fat that seasons the whole dish; char siu (BBQ pork) from an Asian market deli is the authentic restaurant choice; salted fish (tiny amount, fried crisp) adds incredible umami depth — the secret ingredient in many restaurant versions. Each protein changes the dish’s character completely.
For the technique-obsessed, the Serious Eats fried rice guides (J. Kenji López-Alt’s work especially) are the definitive deep-dives — the food science behind every step. And the day-old rice principle extends everywhere: our meal-prep chicken techniques similarly rely on proper cooling and storage for texture. Master the base, explore the variations, and fried rice becomes a weekly staple rather than a takeout order.
The Three Secrets
Day-old rice, screaming heat in small batches, and restrained sauce with oyster sauce and white pepper. That’s the entire gap between sad homemade and restaurant fried rice. Master those three and your kitchen produces takeout-quality fried rice in 15 minutes — better than delivery, for a third of the price.