
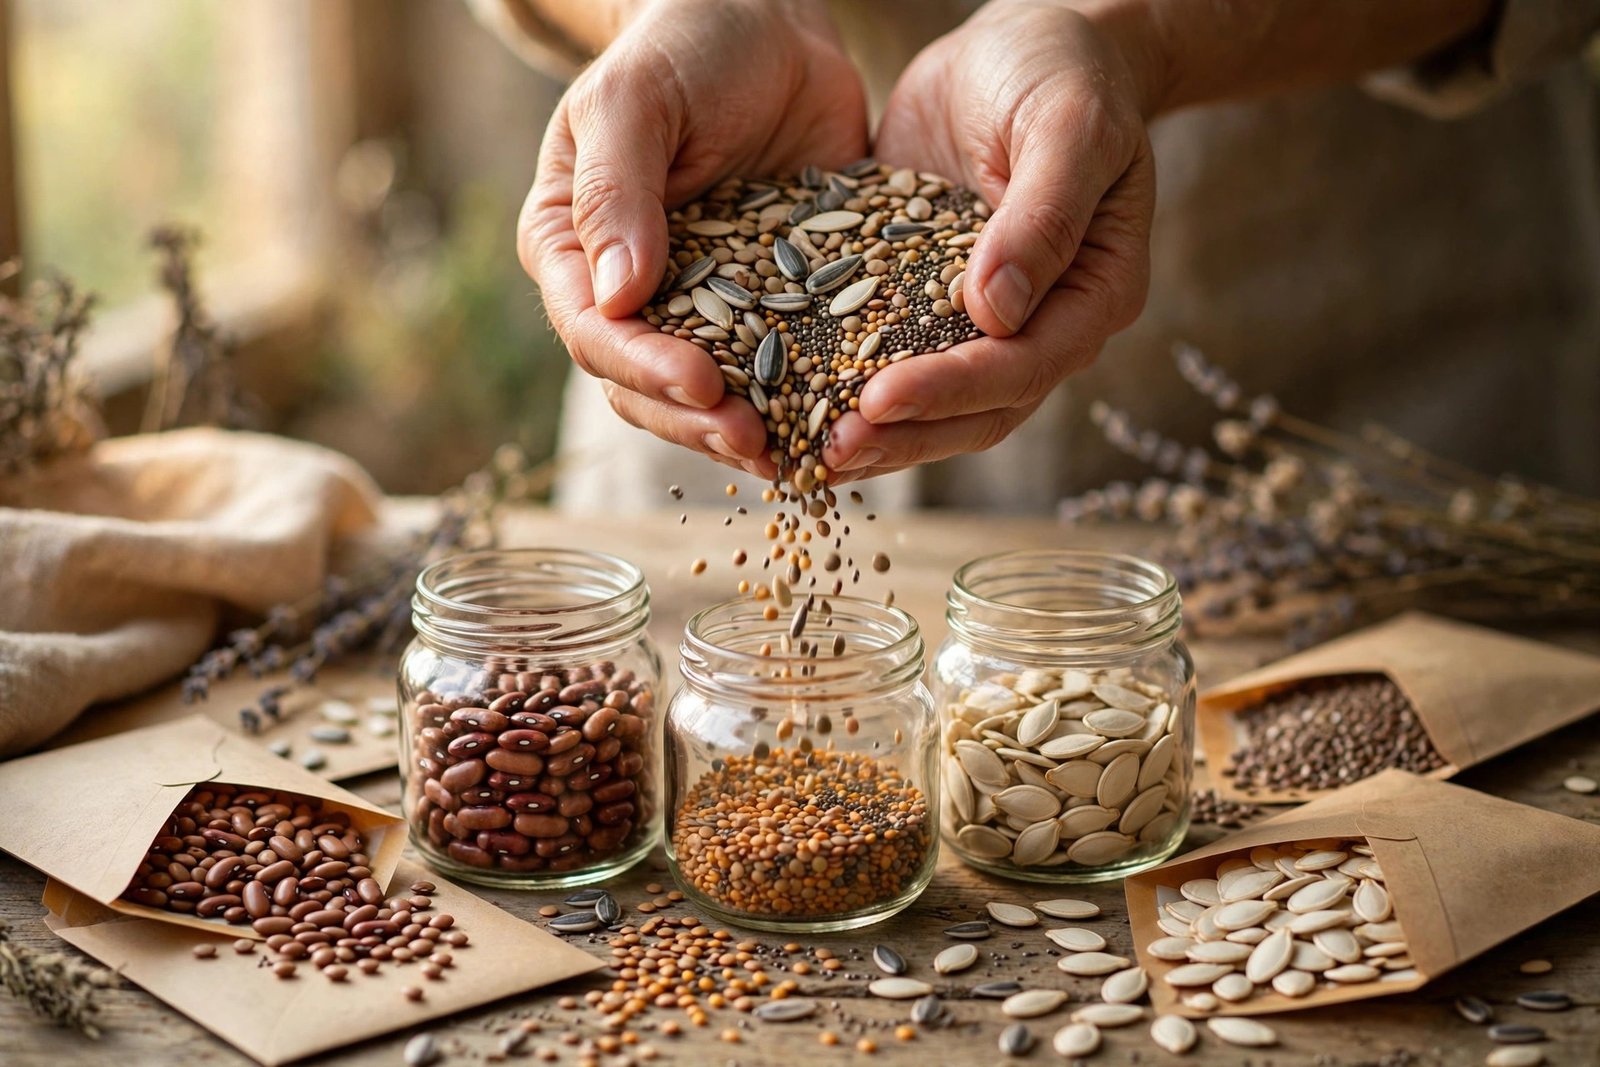
A $3 seed packet holds a miracle: hundreds of future plants. Saving your own seeds turns one packet into a lifetime supply — adapted to your exact soil and climate, year after year. It’s also the oldest human technology, practiced for 10,000 years. But seed saving has rules: save from the wrong plants or store them badly and you’ll get disappointment instead of gardens. Here’s how to do it right.
Start With the Right Plants
Save from open-pollinated and heirloom varieties — these “breed true,” meaning seeds grow into plants like their parents. Don’t save from F1 hybrids (labeled “F1” on packets) — their seeds produce unpredictable offspring, often inferior. When buying seeds with saving in mind, choose heirlooms; Seed Savers Exchange is the premier source and community for them.
Save from your best plants — the earliest tomato, the most vigorous bean, the lettuce that bolted last. This is selection, the engine of domestication: over years, your saved seeds become a locally adapted strain outperforming store-bought seed in your garden. Save from multiple plants (5–10 minimum) to maintain genetic diversity; saving from a single plant narrows the gene pool. And isolate varieties that cross-pollinate readily — squash, corn, and cucumbers cross with abandon, producing mystery offspring. Either grow one variety, hand-pollinate, or accept surprises (sometimes delightful).
When and How to Harvest Seeds
Seeds must be fully mature — which is later than edible maturity. Tomatoes: dead ripe, even overripe. Beans and peas: pods dry and rattling on the plant. Lettuce: fluffy white seed heads. Peppers: fully colored and slightly wrinkled. Flowers: heads dry and brown. Harvest on a dry day; wet seeds mold.
Dry seeds (beans, peas, lettuce, herbs, flowers): let them dry on the plant as long as possible, then finish drying indoors on screens or paper (never plastic — it traps moisture) for 1–2 weeks until they snap rather than bend. Wet seeds (tomatoes, cucumbers, squash): scoop seeds with their gel into a jar with a little water and ferment 2–4 days — the fermentation dissolves the germination-inhibiting gel and kills some seed-borne diseases. Rinse clean when a mold layer forms on top, then dry thoroughly on a screen. This fermentation step is the difference between 90% germination and 30%.
Drying and Storage: The Critical Part
Improperly stored seeds die quietly. Dry to “cracker” stage: seeds should snap cleanly when bent (large seeds) or shatter when hit with a hammer (small seeds). In humid climates, finish drying with silica gel packets in a sealed jar for a week. Then store cool, dark, and dry: paper envelopes inside sealed glass jars, in a refrigerator (not freezer — freeze-thaw cycles damage seeds; a steady fridge is ideal) or a cool basement. Add silica gel to jars in humid regions.
Label everything: variety, source plant notes (“earliest, huge fruits”), and date. Unlabeled seeds become mystery seeds, and mystery seeds don’t get planted. Most vegetable seeds stay viable 3–5 years refrigerated (onions and parsnips only 1–2; tomatoes up to 7+). A simple spreadsheet or notebook turns a seed stash into a seed library. Proper storage is an eco-win too — it’s the ultimate environmentally friendly home habit, cutting packaging and shipping to zero.
Testing Germination Before Planting Season
Don’t discover dead seeds in April. The paper-towel test: in late winter, place 10 seeds on a damp paper towel, fold it, seal in a plastic bag, keep warm, and count sprouts after 7–14 days. 8+/10 is excellent; 5/10 means sow thickly; under 5 means compost the batch and buy fresh. Test your most precious varieties yearly — it takes minutes and prevents spring heartbreak.
Seed longevity cheat sheet: tomatoes, cucumbers: 5–7 years. Beans, peas: 3–5 years. Lettuce: 3–4 years (keep cool). Peppers: 2–4 years. Onions, leeks: 1–2 years (always save fresh). Corn: 2–3 years. When in doubt, the towel test rules — seeds don’t read calendars.
Level Up: Seed Swaps and Community
Your surplus is someone else’s treasure. Seed swaps (local gardening clubs, libraries — many now host seed libraries) multiply your varieties for free and connect you with local growers. Label generously when sharing: variety, year, your location, growing notes. Save regionally: seeds saved in your climate, swapped within your region, outperform commercial seed bred for everywhere-and-nowhere.
Consider joining the seed-saving movement formally: Seed Savers Exchange’s community, local heirloom groups, the Royal Horticultural Society’s seed-saving guidance, or simply the informal network of gardeners who trade envelopes every winter. And apply the same self-reliance thinking to the kitchen — reducing food waste with weekly meal planning pairs naturally with growing and saving your own food.
Biennials: The Two-Year Commitment
Some crops — carrots, beets, onions, kale, cabbage — are biennials: they grow vegetatively year one and flower (making seeds) year two. Saving their seeds means overwintering the roots. The method: in fall, select your best roots, trim tops to an inch, and store in damp sand in a cool (32–40°F) dark place — a root cellar, unheated garage, or refrigerator. In spring, replant; they’ll bolt, flower, and set seed by midsummer.
It’s more work, but biennial seed saving is deeply satisfying — you’re completing a cycle most gardeners never see. Isolation matters more for biennials since they outcross readily: carrots cross with Queen Anne’s lace (a common weed) producing inedible white roots, so rogue out wild relatives within pollination distance. One successful biennial seed crop teaches more about plant life cycles than a shelf of books.
Seed Saving Mistakes to Avoid
Saving from too few plants: one tomato plant’s seeds work, but saving from a single plant for generations causes inbreeding depression — use 5–10+ plants for cross-pollinators. Harvesting too early: under-ripe seeds germinate poorly or not at all; wait for full maturity even if it means sacrificing eating quality. Storing damp: the number-one seed killer — if seeds don’t snap, they’re not dry enough; moldy seeds are dead seeds.
Forgetting labels: every experienced seed saver has a drawer of mystery seeds. Label immediately at harvest — variety, date, notes — not “later.” Saving from diseased plants: some diseases travel in seed; save only from healthy plants, and ferment tomato seeds properly (it kills surface pathogens). Ignoring isolation: that “amazing squash” might be a cross with a neighbor’s ornamental gourd — delicious or disgusting, you won’t know until you grow it. A little planning prevents a season of surprises.
Conclusion
Saving seeds for next year means choosing open-pollinated varieties, harvesting at full maturity, fermenting wet seeds, drying to cracker stage, storing cool-dark-dry in labeled jars, and testing germination before spring. One season of careful saving creates a self-renewing, locally adapted seed supply — gardening’s oldest and most satisfying closed loop.
Frequently Asked Questions
Can I save seeds from hybrid plants?
You can, but F1 hybrid seeds don’t breed true — offspring are unpredictable and often inferior. Save from open-pollinated and heirloom varieties for reliable results.
How long do saved seeds last?
Most vegetable seeds last 3–5 years refrigerated in dry, sealed containers. Tomatoes reach 7+ years; onions only 1–2. The paper-towel germination test tells you for sure.
Why ferment tomato seeds?
Tomato seeds are coated in a gel that inhibits germination and can harbor disease. Fermenting 2–4 days dissolves the gel and kills pathogens, dramatically improving germination rates.
What’s the best way to store seeds?
Paper envelopes inside sealed glass jars with silica gel, kept in a refrigerator (cool, dark, dry). Label everything with variety, date, and notes.