
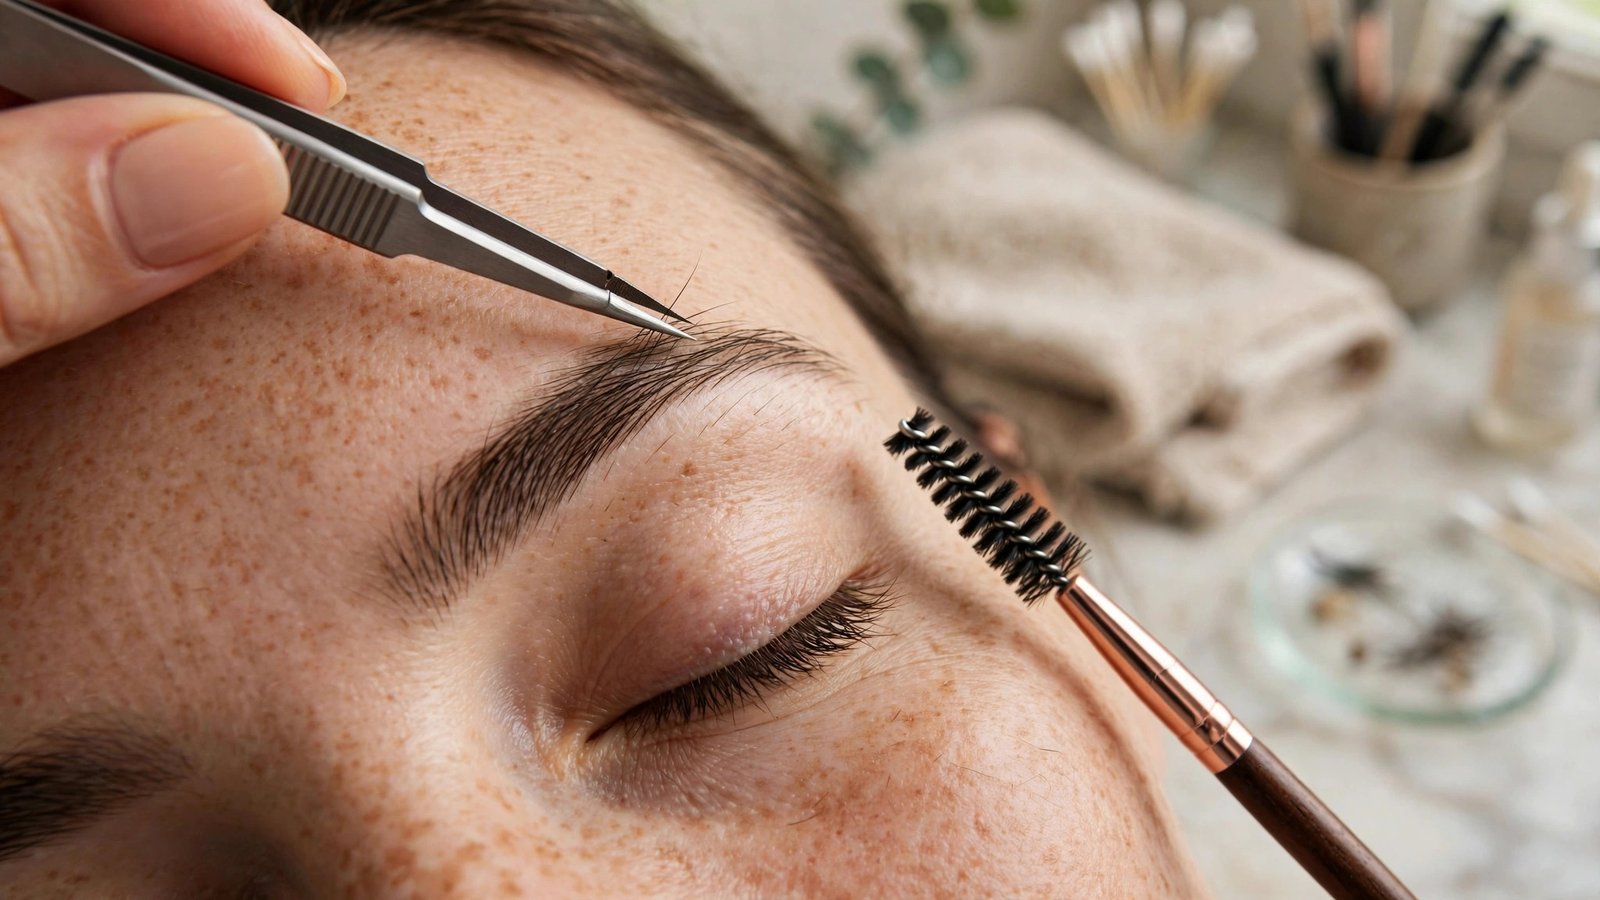
Brows frame your entire face — they’re the difference between looking polished and looking unfinished, which is why a professional brow shape costs $20–$40 every few weeks. But the fundamentals of brow shaping are simple geometry, not artistry. With a $10 toolkit and 15 minutes, you can maintain salon-quality brows at home indefinitely.
The key insight: most at-home brow disasters come from over-removal, not under-removal. This guide is built around the conservative approach professionals use — map first, remove little, step back often.
Your At-Home Brow Kit
- Slant-tip tweezers: the single most important tool. Good tweezers grip fine hairs without breaking them — cheap ones cause ingrowns.
- Spoolie brush: for brushing hairs into place before and during shaping.
- Small brow scissors: for trimming long hairs (safer than plucking length).
- White eyeliner pencil or concealer: for mapping your shape before touching tweezers.
- Aloe or witch hazel: to soothe skin after.
Skip at-home waxing kits as a beginner — wax removes a strip at once with zero forgiveness, which is exactly how brows disappear. Tweezing is slower but correctable.
Step 1: Map Your Shape (The 3-Point Method)
Before removing a single hair, map where your brow should start, arch, and end using any straight tool (pencil, brush handle):
- Start: hold the tool vertically along the side of your nose — where it crosses your brow is where the brow should begin. Mark with a dot.
- Arch: angle the tool from the nostril edge through the outer edge of your iris (looking straight ahead) — where it crosses the brow is your arch peak. Mark it.
- End: angle from nostril edge to the outer corner of your eye — where it crosses is where the brow should end. Mark it.
Connect the dots mentally: that’s your natural shape’s ideal version. The golden rule — never tweeze above the brow (that’s where the natural arch lives and where mistakes are most visible). Clean up only below and between.
Step 2: Brush, Trim, Then Tweeze
- Brush all hairs upward with the spoolie. Any hairs extending well beyond your mapped top line get a careful trim: brush up, snip only the very tips with brow scissors. Trim conservatively — you can always take more.
- Brush downward and trim any unusually long stragglers underneath.
- Tweeze stragglers only: working in natural light (near a window — bathroom fluorescents lie), remove obvious strays below your mapped line and between the brows. Pull in the direction of hair growth, gripping close to the root, with skin held taut.
The professional’s rhythm: tweeze 3–4 hairs, then step back from the mirror (or look in a farther mirror). Close-up mirrors cause over-tweezing — the number-one at-home error. If you can’t see the overall shape, you can’t judge it.
The “Don’t” List (Learn From Others’ Mistakes)
- Don’t chase symmetry: brows are sisters, not twins. Forcing identical brows leads to over-thinning both. Step back and assess the face overall, not each brow in isolation.
- Don’t tweeze the tops: the upper edge defines your arch; thinning it flattens your expression and is nearly impossible to fix quickly.
- Don’t shape when emotional or rushed: brow shaping requires patience. Tired, rushed tweezing is how half a brow vanishes.
- Don’t follow trends blindly: the ultra-thin 90s brow, the Instagram block brow — trends cycle, but your bone structure doesn’t. Work with your natural shape.
- Don’t tweeze ingrowns aggressively: exfoliate gently and let them surface; digging causes scarring and infection.
The American Academy of Dermatology’s hair-removal guidance covers safe tweezing technique and aftercare — including why tweezing the same area repeatedly can eventually damage follicles.
Filling: The 60-Second Polish
Even perfectly shaped brows look better with light filling, which takes a minute:
- Choose a shade one step lighter than your natural brow (dark brows + dark pencil = harsh).
- Use short, upward hair-like strokes in sparse areas only — don’t color the whole brow.
- Concentrate on the tail (outer third), which is naturally sparser on most people.
- Brush through with the spoolie to blend and soften.
- Set with clear or tinted brow gel for all-day hold.
On no-makeup days, tinted brow gel alone gives definition in 20 seconds. This pairs perfectly with a minimal-effort polished look — brows plus a few basics read as “done” without reading as “made up.”
Maintenance Schedule
Touch up strays every 5–7 days (5 minutes) rather than doing a big reshape monthly — small frequent maintenance prevents the regrowth jungle that tempts over-tweezing. Do a full mapping check monthly to make sure your shape hasn’t drifted.
If you’ve over-tweezed: stop touching them entirely for 4–6 weeks (growth cycle), fill in the meantime, and consider a brow serum with peptides — evidence for growth serums is mixed, but keeping the area moisturized and untouched is what actually allows regrowth. Avoid prostaglandin-based serums unless you understand the side effects (possible iris darkening, fat loss around eyes) — the FDA’s cosmetics information is worth reading before using lash/brow growth products.
For special occasions, many people pair fresh brows with thoughtful accessory choices — the overall frame (brows + jewelry + hair) matters more than any single element.
Brow Tinting and Lamination: Worth It at Home?
Two professional treatments promise to reduce daily brow effort — here’s the honest breakdown:
- Brow tinting: semi-permanent dye darkens fine, light hairs, making brows look fuller for 3–6 weeks. At-home kits ($10–$15) work well if you follow timing precisely — the classic mistake is leaving dye on too long, producing unnaturally dark brows. Do a patch test 48 hours first (allergic reactions near eyes are serious), choose a shade lighter than you think, and set a timer. Done right, tinting plus weekly stray cleanup nearly eliminates daily brow makeup.
- Brow lamination: a chemical process that straightens and sets brow hairs upward for a fluffy, full look lasting 4–6 weeks. Salon lamination ($50–$100) is reliable; at-home kits exist but carry real risk — the perming chemicals near eyes demand precision, and over-processing damages hairs. For most people, lamination is a salon service, not a DIY project.
- Microblading: semi-permanent tattooed hair strokes lasting 1–3 years. Genuinely transformative for sparse brows, but it’s a tattoo on your face — research artists obsessively, check healed (not fresh) photos, and understand it fades and needs touch-ups. Never bargain-hunt this service.
The practical hierarchy: master tweezing and filling first (free, foundational), add tinting if your brows are light (cheap, high impact), consider lamination or microblading only after you’ve lived with well-shaped brows long enough to know exactly what you want enhanced.
Frequently Asked Questions
How often should I shape my brows?
Quick stray cleanup every 5–7 days; full shape assessment monthly. Daily attention isn’t needed — brows look best with benign neglect between touch-ups.
Should I wax, thread, or tweeze at home?
Tweeze. It’s the most controllable method for beginners — one hair at a time, instantly correctable. Save waxing and threading for professionals; both remove multiple hairs at once with no undo button.
Why do my brows look uneven in photos?
Camera lenses distort, and faces aren’t symmetrical — what looks uneven in a close-up selfie often looks fine in person. Judge in a regular mirror at arm’s length, not a phone camera at 6 inches.
Can over-tweezed brows grow back?
Usually yes, but it takes patience — brow hairs have a 2–4 month growth cycle, and years of over-tweezing can damage follicles permanently in spots. Leave them completely alone for at least 6–8 weeks before judging regrowth.
The Bottom Line
Shaping brows at home is mapping, not artistry: mark your three points, trim conservatively, tweeze only strays below the line, step back constantly, and never touch the tops. Fifteen careful minutes beats a $30 appointment — and the restraint to stop early is the real professional skill.