
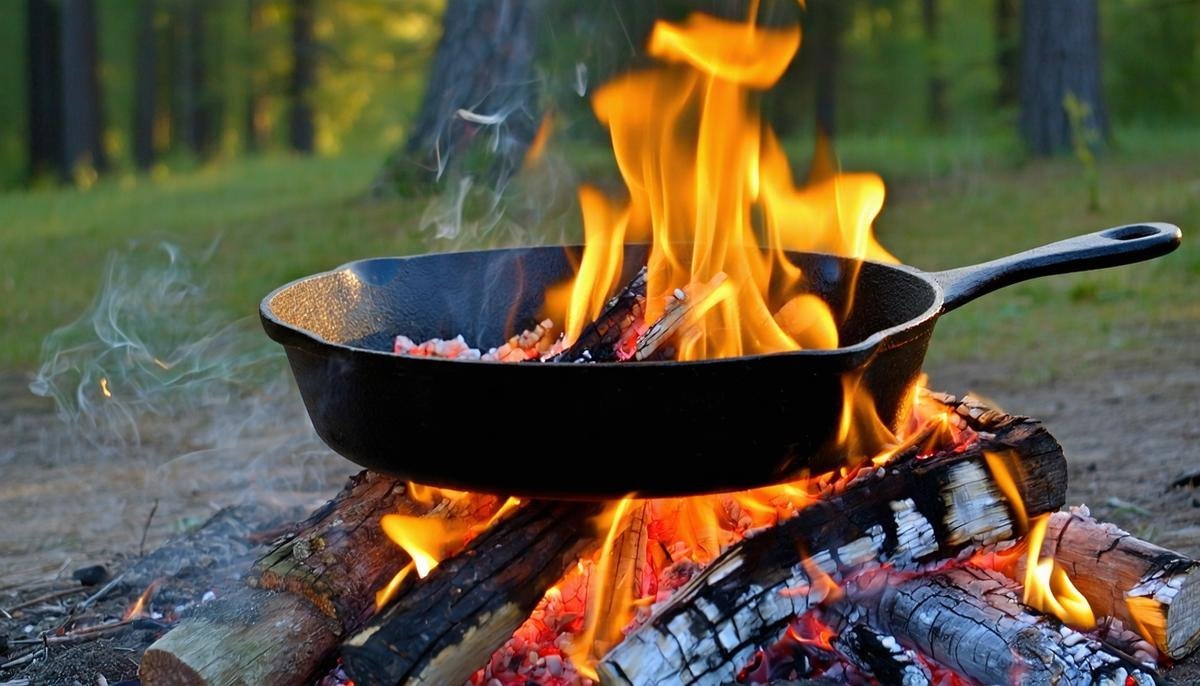
Most new cast iron skillets come pre-seasoned now — but that factory layer is a starting point, not a finished non-stick surface. Proper initial seasoning (plus the right first months of use) builds the slick, black patina that makes cast iron legendary.
Here’s the oven method that works, which oils to use, and the myths to ignore.
How Do I Season a Cast Iron Skillet for the First Time? The Oven Method
Start clean: wash the new skillet with hot water and a little soap (yes, soap is fine — the ‘never soap cast iron’ rule is outdated for modern dish soap), scrub off any factory residue or rust spots, and dry completely — towel dry, then heat on the stove 2-3 minutes to evaporate every drop. Water left on bare iron rusts fast; heat-drying is non-negotiable.
Apply oil microscopically thin: rub your chosen oil over every surface (inside, outside, handle) with a cloth or paper towel, then — critical — wipe it ALL off like you made a mistake. The pan should look dry. Too much oil creates sticky, gummy seasoning; the ‘wipe it like you don’t want it there’ step is what separates good seasoning from tacky mess. Multiple thin layers beat one thick layer every time.
Bake upside-down at 450-500°F (above the oil’s smoke point — that’s what polymerizes it into seasoning) for 1 hour, then cool in the oven. Repeat 2-3 times for a solid base. Yes, it’ll smoke — ventilate well, disable the smoke alarm temporarily if needed. Three thin baked layers give you a genuine head start; cooking builds the rest.
Oil Choice and the Science Bit
Best oils: those high in unsaturated fats that polymerize well — flaxseed (dries hardest but can flake if applied thick), grapeseed, canola/vegetable, or Crisco/shortening (the traditional choice — cheap, effective, nearly foolproof). Any neutral high-smoke-point oil works; the technique matters more than the oil. Avoid olive oil (low smoke point, gummy) and butter (milk solids burn).
The science in one sentence: heating oil past its smoke point breaks it down and rebonds it as a hard polymer layer fused to the iron — that’s seasoning, not ‘oil coating.’ This is why temperature matters (must exceed smoke point) and why thin layers matter (thick oil pools and gets sticky instead of polymerizing evenly).
Myth-busting: soap is fine (modern dish soap doesn’t strip polymerized seasoning — lye-based vintage soap did, hence the myth). Dishwashers are NOT fine (prolonged water + harsh detergent + heat = rust and stripped seasoning). Soaking is not fine (rust). Metal utensils are fine (they smooth high spots; they don’t scratch through real seasoning). Tomatoes/wine occasionally are fine (don’t simmer acidic foods for hours in new seasoning, but normal cooking is no problem).
The First Months: Building the Patina
Cook fatty foods first: bacon, fried chicken, cornbread, grilled cheese, roasted vegetables with plenty of oil. Fatty cooking deposits seasoning with every use — the first month of cooking matters more than the initial oven seasoning. Avoid the ‘seasoning project’ mindset; just cook, and cook fatty.
Clean right: while still warm, scrape with a spatula, scrub with hot water and a stiff brush (chain-mail scrubbers, $15, are the cast iron lover’s best friend), soap if needed, dry on heat immediately, wipe with a whisper of oil while warm. The whole routine takes 2 minutes and becomes automatic. Never air-dry — that’s how rust starts.
What to expect: new seasoning looks brownish and patchy, not Instagram-black. The deep black comes with months of cooking — it’s earned, not applied. Splotchy early seasoning is normal and functional; don’t strip and restart because it isn’t pretty. Cook with it, and the patina builds. If food sticks slightly at first, use more fat — that’s normal while seasoning matures, not failure.
- Wash, heat-dry completely, oil micro-thin (wipe it ALL off)
- Bake upside-down 450-500°F x 1 hr, cool in oven, repeat 2-3x
- Grapeseed/canola/Crisco best; skip olive oil and butter
- Soap OK, dishwasher NO, soaking NO, metal utensils OK
- First month: cook fatty foods (bacon, fried chicken, cornbread)
- Clean: hot water + brush, heat-dry, whisper of oil — 2 minutes
Troubleshooting
Sticky/gummy surface: too much oil per layer — scrub with coarse salt and oil, or bake longer; worst case, oven-cleaner strip and restart (rarely needed). Prevention is the wipe-it-all-off step. If it’s slightly tacky, just cook with it — use builds over it.
Rust spots: scrub with steel wool or vinegar soak (50/50, 1-2 hours max — longer etches the iron), rinse, dry on heat, re-season those spots with 1-2 oven rounds. Surface rust is cosmetic and fixable; it’s not the pan’s death. Dryness prevents 100 percent of rust — the heat-dry habit is everything.
Flaking: usually flaxseed oil applied too thick, or thermal shock. Minor flaking: keep cooking, it fills in. Major flaking: strip (oven cleaner method or electrolysis for enthusiasts) and re-season thinner. But honestly, most ‘problems’ solve themselves through cooking — cast iron is far more forgiving than the internet’s anxiety suggests. The Lodge’s care guides (the biggest US maker) are the authoritative reference.
Cooking With Cast Iron: The First Recipes
The best first cooks for new seasoning: cornbread (the classic — high heat, plenty of fat, releases beautifully and builds seasoning), fried chicken or pan-fried anything (the fat bath deposits seasoning aggressively), grilled cheese and quesadillas (butter + heat = seasoning-friendly), roasted vegetables with generous oil, and Dutch-baby pancakes (the puffy oven pancake that shows off heat retention). Fatty, hot, and simple — that’s the prescription.
As seasoning builds (month 2-3), expand to: seared steaks and chicken breasts (the sear you get from cast iron is unmatched), shakshuka and frittatas (oven-safe means stovetop-to-oven in one pan), and eventually the brave stuff — fried eggs (the true seasoning test; use enough butter early on) and even acidic tomato sauces (fine once seasoning is established — the ‘no tomatoes ever’ rule is for brand-new pans).
What cast iron does best: searing (unmatched heat retention), frying (stable oil temperature), baking (even heat — cornbread, cobblers, pizza), and campfire cooking (indestructible). What it’s merely fine at: delicate fish (doable with technique, but nonstick is easier), long acidic braises in new pans (wait for mature seasoning), and boiling pasta (it’s heavy and slow — use a pot). And for the slow-cooked braises that cast iron Dutch ovens excel at, our cheap beef cuts guide pairs the right meat with the right pot. Cook often, cook fatty, and the pan becomes an heirloom.
Thin Oil, Hot Oven, Then Just Cook
Wash, heat-dry, wipe oil microscopically thin, bake upside-down at 450-500°F for an hour, repeat 2-3 times. Then cook fatty foods, clean with hot water and heat-dry, and let months of cooking build the black patina. Seasoning isn’t a project — it’s the first chapter of a cooking relationship that lasts generations.